8 Free Halloween Stencils Make Creepy Chalkboard Art

Halloween Stencils for Chalkboard Art

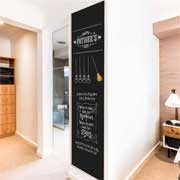
If you have a chalkboard, you can make some really cool Halloween chalkboard art without spending a lot of money. Aternatively, you can make a scary or fun design using re-usable (and inexpensive) Halloween stencils.

Halloween Stencils for Chalkboard Art

Essentially, you will need basic items:

1. Your Design or Stencil
2. Box cutter or X-Acto knife
3. Chalk or Liquid Chalk Markers

Halloween Stencil Designs:

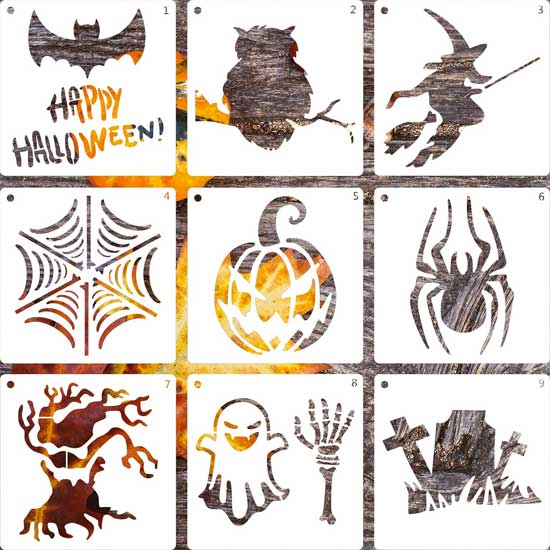
You can buy Halloween stencils for cheap, or you can download image ideas for free on the internet. Of course, designs range from extremely simple to complex.

Keep in mind that the more elaborate the image or design, the more work they will require to cut into a stencil. I’ve listed a few below that are unique and interesting, yet they are not overly complicated.
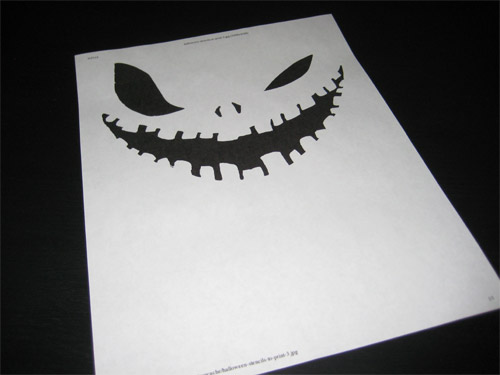
halloween chalkboard stencil

Save Money by Making Your Own Stencils:

The low-cost alternative to buying specially-made plastic stencil paper at $3-4 a sheet is to make your own stencil.

You can buy inexpensive plastic report covers or sheet protectors at your office supply store. The heavier they are, the easier they will be to work with. However, they typically will cost more. Therefore, keep this in mind when you are comparing items.

For example, Walmart carries report covers for less then $1 apiece. Sheet protectors are another cost-saving idea.

TIP: Another low-cost option is to use heavy card stock or thin cardboard as your stencil form. The thicker the material, the harder it will be to cut through.

Chalk:

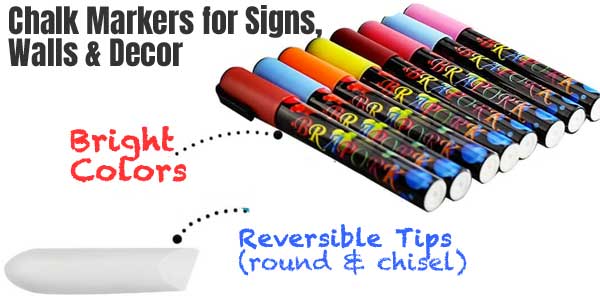
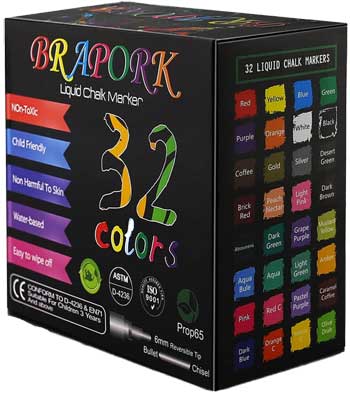
A box of plain white costs a few bucks. However, if you want sharp, crisp edges, you may want to consider wet-erase chalk markers. You can buy them online, and I know that the craft store Michaels also sells them.

You can get away with buying just one marker and just using it for the edges. If you have a large object to draw, like a bat, you can use regular chalk to color the shape and then use the marker to finish the surrounding edges.

TIP: A cheap alternative is to use a wet Q-tip around the edges of your artwork when you’re finished drawing to make the edges more crisp-looking.

A big advantage of using chalk as your art medium is that it is not expected to look perfect, but rather more “sketchy”. Therefore, if you fall into the “non-artist” category like me, you’re fine.

Get Paint Here for $15

How to Make a Dry Erase Mini Fridge for $15

DIY Dry Erase Mini Fridge

DIY Dry Erase Mini FridgeIf you can’t find the dry erase mini fridge that you want for the price you like – why not make your own?

That’s right! Just like chalkboard fridge panels that you can peel and stick, you can buy removable dry erase panels that you can attach to your fridge as well.

Do you already have a mini fridge or want to buy a particular model that doesn’t include a dry erase surface? I’ve found the perfect solution!

No more searching for the special appliance with a writable surface. Now you can have your fridge and write on it too. Haha!

Super Easy DIY Dry Erase Mini Fridge Project:

DIY dry erase mini fridge panels

You can get a 2-foot x 3-foot panel for about $15, which easily covers the front of any mini refrigerator (and then some). It’s called a Peel-and-Stick Dry Erase Message Board Decal. You can cover a side of your fridge as well, depending on the size of your appliance.

You may also decide to use any leftover pieces to make extra message boards on cabinets or doors, design labels for containers or create other writable surfaces. All sheets can be cut to size, so this make the application process a snap.

I find it easiest to apply the decal to the front of your refrigerator first, starting at the top right or left-hand corner. Then, simply cut the excess material after you have covered the door. For a clean, crisp cut, use an Exacto knife or box cutter along a straight-edge.

No messy paint to deal with or rollers to purchase or waiting for paint to dry. Just stick and cut to size. Then write!

Key Points Before You Start:

  • Simple to install (just peel and stick)
  • Remove at any time, no sticky residue left behind
  • Easily cut to the size you need without fancy tools – just use scissors or a box knife
  • WallPops dry erase marker included free (and cap has eraser on the tip!)

Dry Erase MarkersI know what you’re thinking. These dry erase panels can do a lot more than transform your fridge.

Soon, you’ll be able to write on everything in your house because it’s covered with peel-and-stick dry erase decals.

In that case, you might want to get yourself some more pens

Chalk Lettering Made Easy – & Chalkboard Letter Stencils

How to Do Chalk Lettering Book

How to Do Chalk Lettering BookDo you want to learn how to do chalk lettering for signs, menus or home decor?

This book, The Complete Book of Chalk Lettering, shows you how to create all sorts of letter styles as well as graphics. Plus, you learn how to develop your own style, which actually makes chalkboard art much easier.

This comprehensive guide contains 60 lessons, including 12 projects where you can practice your newly-learned skills. However, you don’t have to complete all lessons to become proficient in chalkboard lettering.

1. Learn How to Write with Chalk:

First, you learn the basic handwriting and letter styles. For example, serif, sans serif and script.

2. Chalkboard Art Layout Ideas:

Next, you get the steps to making a design layout, including how to combine letter styles together. Plus, you’ll find out how to create that 3D look with easy shadow techniques.

3. Get Advanced Chalk Writing Techniques + Art Tips:

In addition this chalk writing guidebook has instructions on drawing borders and framing to emphasize text. Altogether, you can combine these creative strategies to put together an attractive, professional-looking chalkboard mural – and have fun doing it!

Video Chalk Art Tutorial:

The video tutorial below demonstrates how to make calligraphy lettering. I particularly like the eraser trick with the Q-tip for creating clean, crisp lines because it makes erasing mistakes super simple. =)

Chalkboard Sign with Chalk Art and Lettering

Chalk Lettering is Easier
than You Think:

Chalkboard lettering doesn’t have to be complicated to create great art.

In fact, adding a unique frame around your board can transform a boutique sign or cafe menu into something that looks really cool.

For example, check out the sign to the right. You can even incorporate this concept into chalkboard wall art in your kitchen, entryway or home…

Alternatively, you can buy a set of chalk stencils for making larger signs.

Liquid Chalk Markers for Drawing Colorful Chalkboard Art:

If you want to get more artistic, you can incorporate color into your lettering and designs. This liquid chalk marker set contains 32 different colors and reversible pen tips.

Chalk Markers for Signs, Walls and Decor

Therefore, you have lots of options as far as what colors you can use. Plus, the darker and lighter shades make it really easy to create shadowing on colored letters and objects.

Complete Set of Liquid Chalk Markers with 32 ColorsWhen used on non-porous surfaces, pen marks wipe off clean very easily. For example, chalkboard decals and wallpaper, menu boards, labels, windows, mirrors, etc..

In addition, the pens have a water-based chalk “ink”. Therefore, any marks wash off easy from your skin or clothes (kid friendly too!).

Note: Many people prefer liquid chalk markers because they don’t make a lot of dust.

Plus, this set provides a lot more color options and artistic pen tips, so you can achieve a fancier look with less effort. =)

SALE

Large Vinyl Chalkboard Wall Decal for Kitchens, Kids Rooms, School Classrooms, Making Labels and more

Create an Easy Chalkboard Wall for Under $15 $10?

7-Foot Long Chalkboard Wall Sticker to Write, Draw, Create Calendars & More. Cut to Size. Great for Kitchens, Kids, School, Labels. Get it Now.

BUY