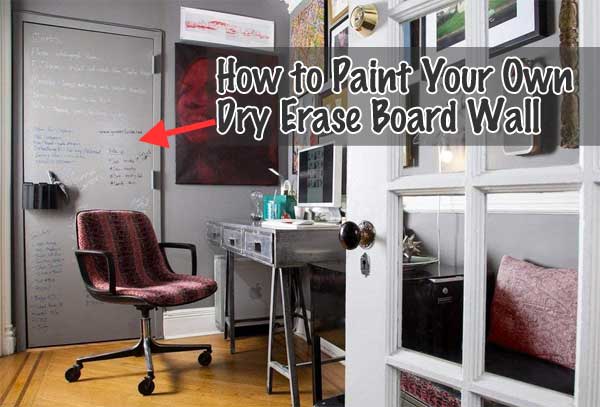
 Get creative, constructive or productive in your home, office, school or gym. You can now turn an entire wall into a cool dry erase board simply by painting it!
This is such a super idea, and it is inexpensive when compared to buying pre-made white boards, artwork or other wall decor items. Just get yourself a bunch of dry erase markers, and you are ready to have a lot of fun.
This lens explains what you need to get in order to quickly and easily turn a wall into a white board. In fact, there are even kits that include everything you need! Keep reading to find out how to make a dry erase board on any wall – even with clear paint!
Why Make a Dry Erase Board?
Dry erase boards became popular as a way to write down ideas or information – with the additional ability to erase old ideas and re-use the board to write down a whole new set of ideas. over and over again.
As this concept began to spread, the number of uses of dry erase boards also increased. Now, you can have a single white board and use it for a variety of different purposes at different times without having to go out and purchase a lot of writing materials.
Sure, a significant amount of information is transferred and communicated in digital form these days over the internet. However, there are still situations that require a larger physical display. And some people simply prefer it.
If you use a dry erase board a lot, or you want a large writing area so that you can display lots of information or large diagrams, it can be cost efficient to simply make your own dry erase board by painting a wall or a portion of it.
This way, you can create a very large usable space without having to purchase and transport a very larger board. This project is also not that hard to do – since the main ingredient of the project is paint.
Materials Needed to Make a Dry Erase Board:
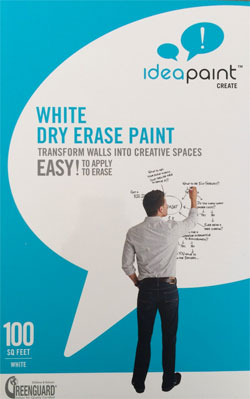
This dry erase board kit includes paint needed to cover 50 square feet of wall space, recommended roller, stir stick, can opener, a help guide and a wet paint sign.
Primer is not needed unless you are painting on a highly porous surface. Each kit is designed for commercial grade performance and comes with a 10-year warranty. You can write on the surface with most standard dry erase pens after 4 days.
This kit includes the same things as the kit above, except with clear paint.
This way, you can paint over an existing coat of paint and turn your regular wall into one you can write on – it doesn’t have to be white!
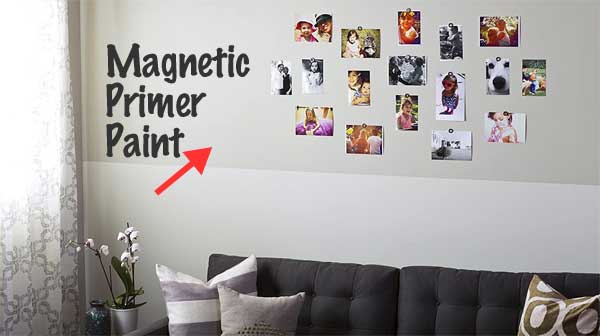
Rustoleum’s magnetic primer that instantly turns any surface into a magnet-attracting space! (ANY surface – you are not limited to just walls!)
This is not cheap, but it can be very handy if you want to stick stuff on your wall as well as write on it. Very cool.
How People Are Using Their Whiteboards…
 People typically use dry erase or whiteboards in the office for business presentations. However, they can be used in a variety of different ways. Get a set of colorful markers and scribble, diagram, write, design away…
For example, like a shopping list or message board in a kitchen, a record-keeping tool in a gym, a menu in a restaurant, a drawing space in a school or as a creative idea space in a start-up company.
Dry erase boards have virtually unlimited uses. In fact, you can even buy pre-made dry erase calendars or easels. However, these pre-packaged items can get expensive. Therefore, it makes more sense to create your own dry erase wall big enough to use for whatever you want.
How to Care for Your New Whiteboard:
Dry erase boards don’t require a lot of maintenance to take care of. However, you want to make sure that you use the right cleaners so that you can properly remove dry erase ink build up.
The products listed above should be all you will need. Plus, they can last you a long time. With regular cleaning and care, you can have your dry erase board looking like new all the time. I mean, who wants a dirty whiteboard anyway?


